
The Machines

Are you sure you wanna make trees?
Coastmans has been in operation now since 2011. I started with an inexpensive belt sander and some drills. (If I ended it today, I'd have a slightly larger belt sander, and some drills). The original intention was to make all the trees from chopsticks. It wasn't long before I learned that a more suitable wood, Port Orford Cedar, grew plentifully in this area. I was able to obtain dowels, and then realized I needed a better machine. It took a year to make the Tapering Machine, which is still going strong.
For many years, Green Branches Foliage was made from green scrubber pads, mixed with dilute latex paint. This was laborious. Several machines were needed to perform the task. There was abrasive dust everywhere. I felt this material worked all right for the smaller trees, but larger trees needed something easier. I stopped Coastmans for a bit while I worked out a new foliage material. This was to be an additive process, rather than a subtractive (destructive!) one. Even this new formula has changed several times over the years, but now there is a Green Branches Foliage material that I feel is suitable and can be sustained. Due to space limitations, I've had to let go of some of the old machines.
Some of the original machines used to make trunks are still in use. Bob Barker is what I call the small machine that engraves the bark detail into the trunks. I've recently improved it with new drills. I made a combination lathe-router machine that turns larger trunks one by one. I use the bandsaw frequently to remove gross material on larger trees, and for one-off medium sized trees & snags. The original Base Hole Driller still works great. Sometimes I use a drawknife, or an electric chainsaw. The Saburrtooth disc makes short work of shaping. I have a simple dowelmaker. I've picked up a few techniques taught to me by a woodcarver I know. ;)
The entire trunk-shaping operation has moved about three times. I started in my garage. I felt I needed the space for model making, and rented a shop for three years. I eventually built a shop on a trailer. Having everything right at home makes Coastmans a cozy operation, but I dream of having it all under one roof. Maybe someday. For now I juggle the space. Tree making and shipping are in the same room. That's because I had to build the Oregon Coast Railroad in HO scale in what was originally the packaging room. All I can say is, Model Trains: Better Earlier than Later! :) I've had a ton of fun building that layout, and look forward to much more!

Green Branches at the ready
Pictures

Lathe-Router Combo. This turns perfect trunks up to 3" diameter.
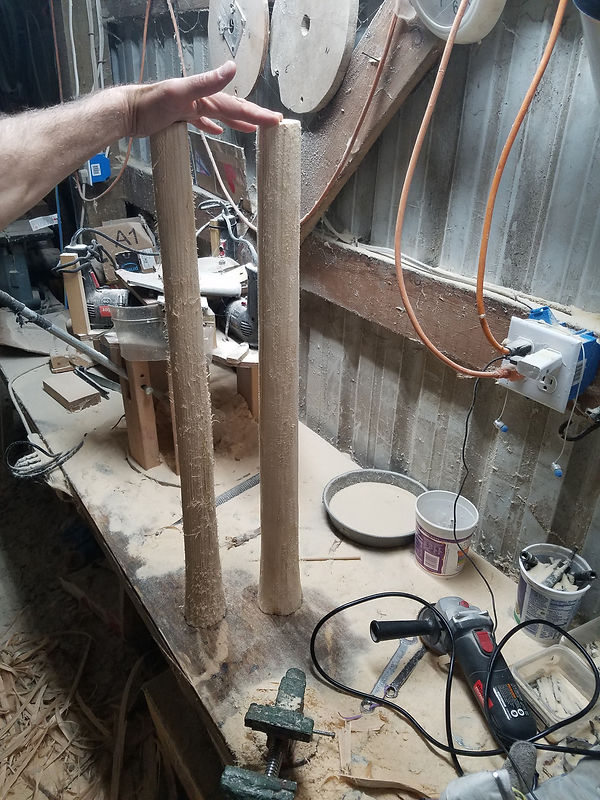
Lathe-Router + early bark detail performed with grinder on these trunks for the X-Box commercial.

Saburrtooth disc in a grinder. The most dangerous tool I know of.
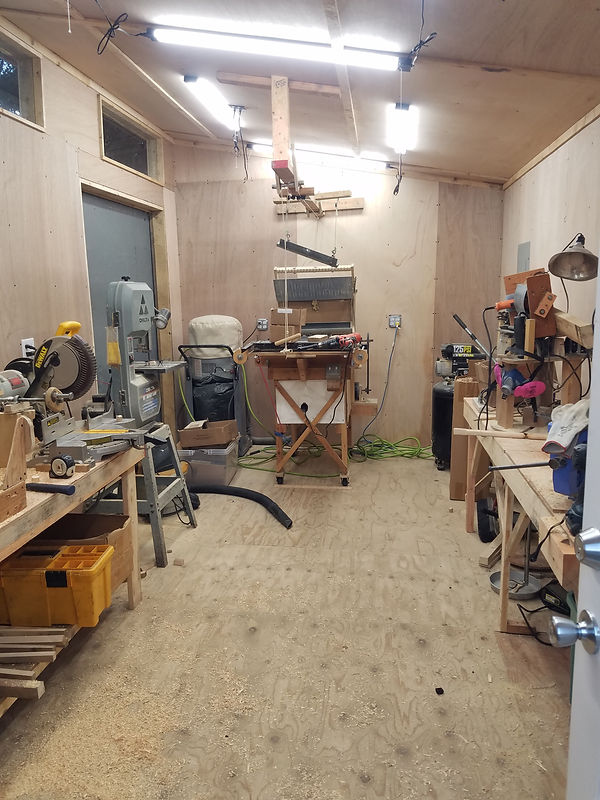
The new shop space on the trailer. This is about the right amount of space for making trunks of all sizes and shapes. I love going in here because the cedar smell is awesome!
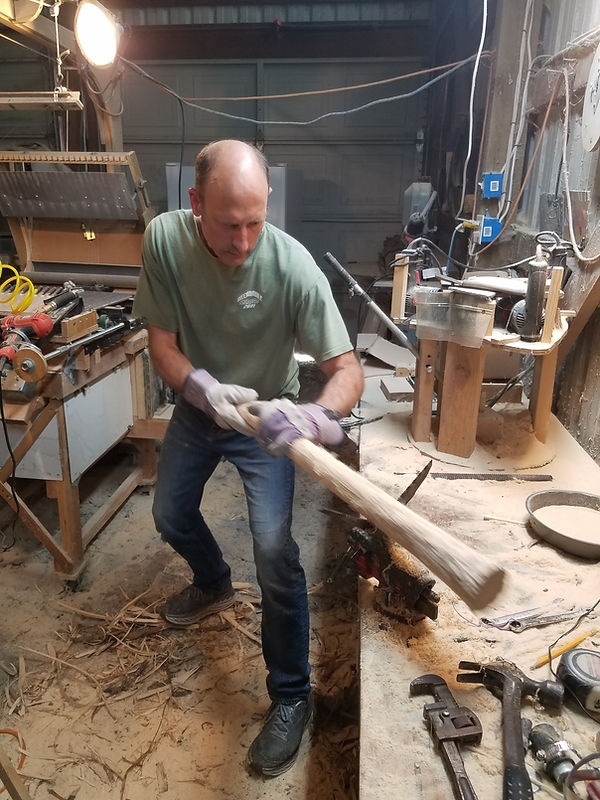
Adding engraved bark detail by hand. Note the two Sawzall blades in the vice and I'm doing the reciprocating. Bob Barker at right, Tapering Machine at left.

Making larger dowels on the dowel-maker. These are probably 3/4" logs.
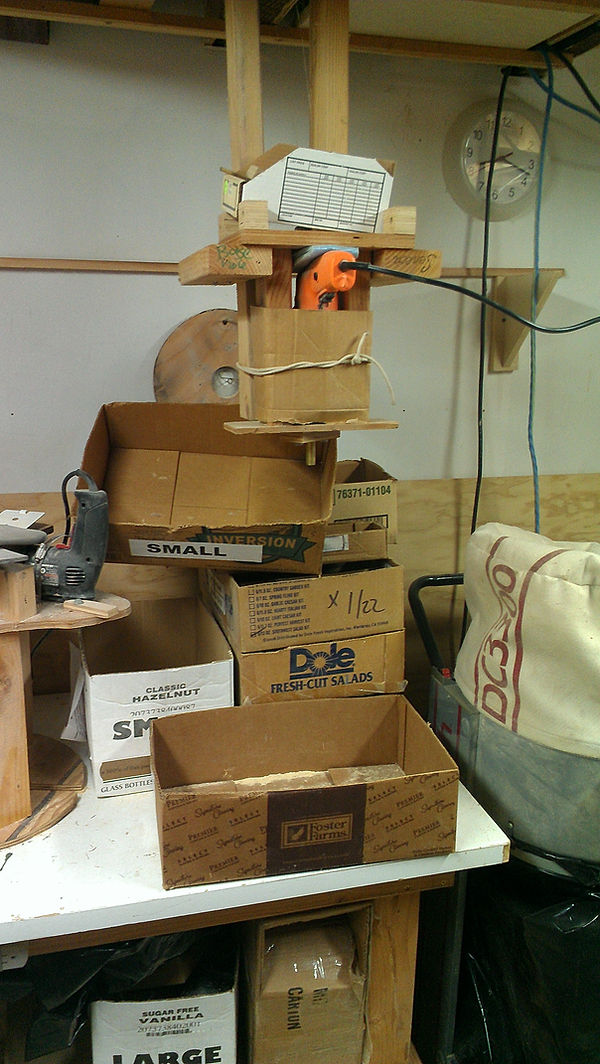
Base Hole Driller.

Using a drawknife on an actual log, to make a scale model log!
Shop Videos
Most of these shop videos are older now and a bit outdated, but they illustrate the evolution that resulted in the current system.
Earlier days, making trunks in the garage. This is now model-making space with 3-D printers, casting machine, etc.
The long-since-gone Dead Branch Driller. This worked pretty well, actually. But I needed to keep costs down, and treating every single trunk individually has always been costly. So it went bye-bye. I wish I still had this. It can be made again!
The VERY FIRST tapering machine: Four drills, some flexible extensions, and a belt sander. That was it!!!
I no longer "sort" the dead branches material this way because I felt it was too destructive. But this machine produced small fragments rather quickly. It was the loudest machine of the bunch. It's long gone and I don't miss it at all!
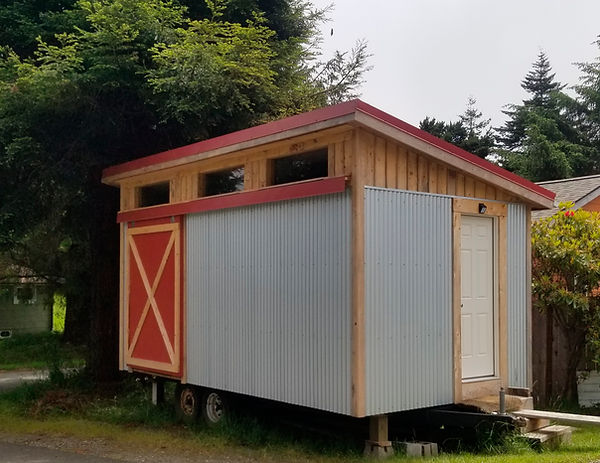

New shop space is built on a trailer. Just add couplers!
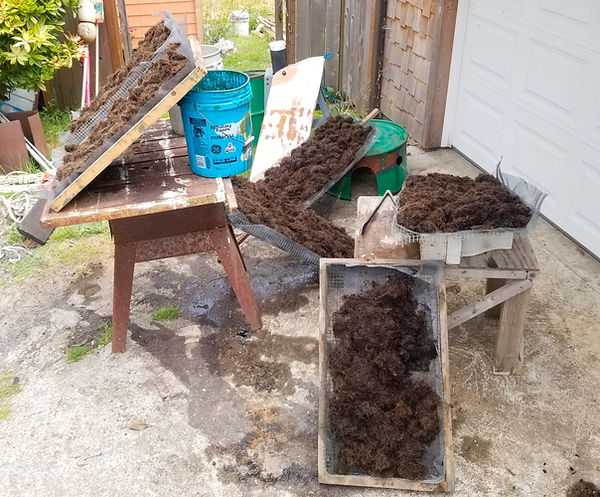
Coir dyed, initial drying in progress
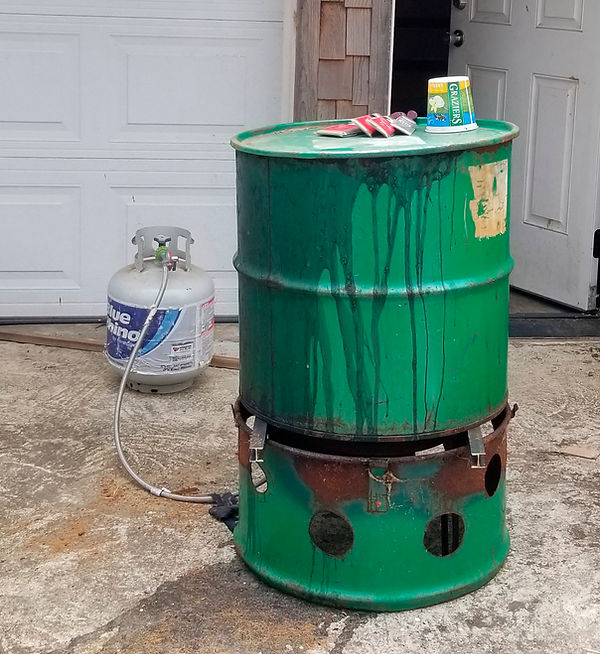
Modified 55 gal drum for dying things.
This is the "Green Room" where things are made, dried, and packaged, all in one tiny space! Named so because in the early days of Green Branches production, there used to be green paint everywhere.
A full demonstration of the tapering machine at the shop space I rented for a while. Music courtesy Dublab internet radio station. They were playing this song while I was working, and I thought it fit the mood, so I incorporated it into this video. You'll get an idea of the pace necessary to make trunks in a timely fashion! These are chopsticks to become 6" and 8" trunks. Note the "boom" that suspends the lid and the weight bar.
Old Green Branches (from pads)
"Tassling" the pads into something more usable for making models of fir trees. This machine was loud and there was plenty of abrasive dust flying around. Five large wire wheels drag on the top of the pad while it is carried through on a removable platform that connects to a bicycle chain. The chain is driven by a garage opener motor. Not meant for continuous operation, the motor would overheat after about twenty pads. It was very loud, too. It was about this time I thought I'd quit Coastmans and build the HO layout instead. But the smell of the cedar swooned me! Soon I'd configured a new way to make Green Branches, AND begun the HO layout in what was the (very nice and dearly missed) packaging room.
After the pads were duly processed, dilute green paint was added to improve the color. Subsequently an industrial salad spinner was used to remove the excess liquid. This material was then laid into screen-lined open trays dried in the Pink Box for about three days. (A sheet of the new material dries in an hour!)


This was the last machine I made used to help me make green branches foliage from scrubber pads. This one was designed to tear up the pre-treated "tassled" pads into smaller pieces more suitable for making model tree branches. Note the cover on the machine in the photo at right. This is not something you want to get your hand into. The main drum was solid concrete reinforced with rebar and about 150 lbs. The adjacent and smaller drum turned faster. The embedded nails on each drum were placed interstitially and thus the pads were "churned" and the nails did not make contact. It worked well! Power and speed control was done by virtue of a treadmill motor.
"The Monster"
pad schredder
Packaging & Tree-Making
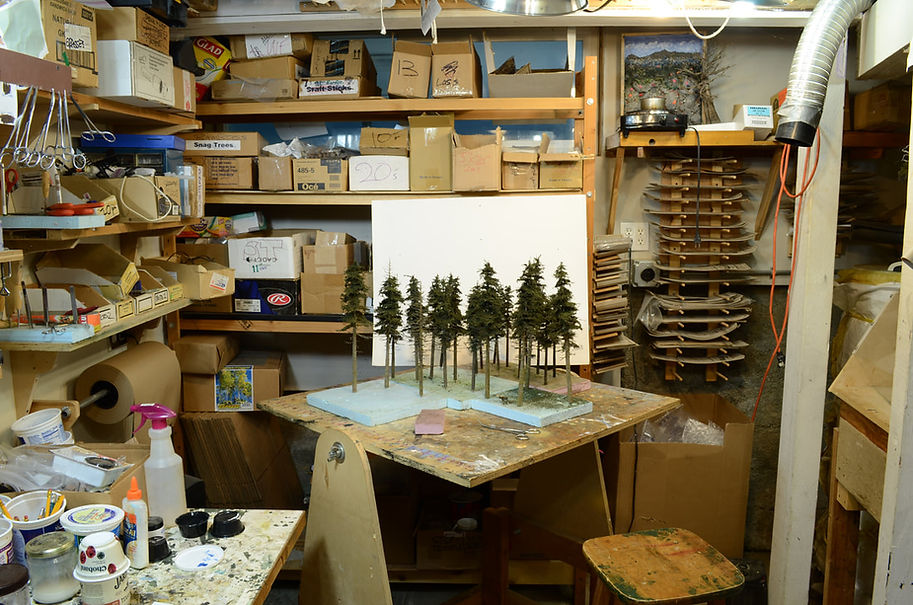
Currently I do packaging and treemaking in one room, the "Green Room". Needless to say, it's "cozy"!
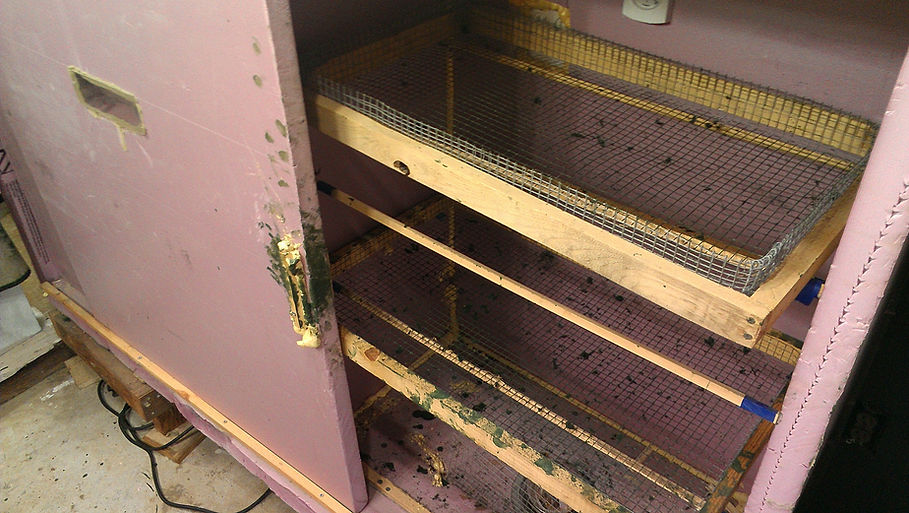
The Green Branches and the trees are dried in this "pink closet" made of foam insulation heated with two 115V infrared lamps.
Packaging Room History


We built a packaging room.
And it was VERY useful. But I just HAD TO HAVE a layout! So I crammed everything into the Green Room.

And thus attained everlasting happiness.
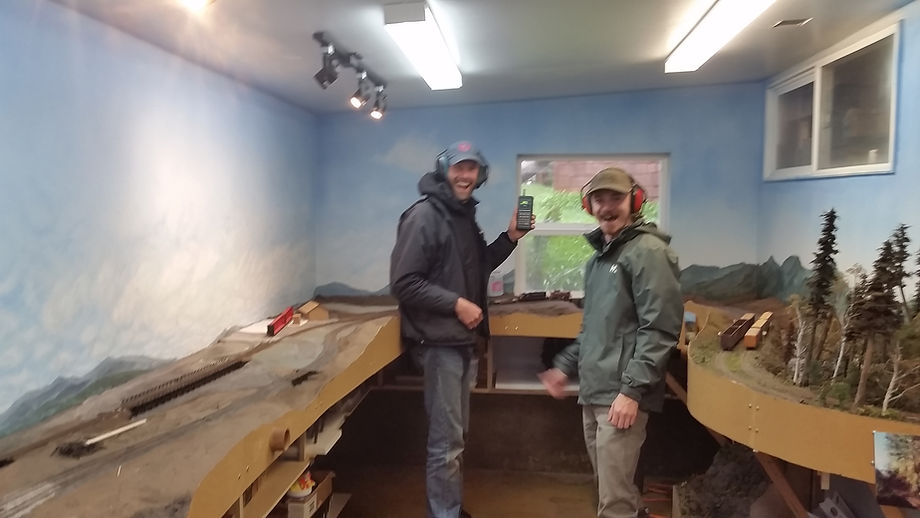
These two will soon be assimilated.


